Thursday, December 5, 2013

3rd Marking Period


Length:8 Width:5 Height:5
Length;8 Width:5 Height:6

Length:9 Width:5 Height:6
length 
Length:7 Width:6 Height:4
Length:8 Width:5 Height:5

Length:8 Width:5 Height:6

\
Length:8 Width:5 Height:6

Length:9 Width:5 height:6


Length:9 Width:4 Height:6
Length:11 Width:3 Height:6
Length:8 Width:5 Height:6

length:11 width:6 height:6
Length:8 Width:5 Height:6
***************************************************************************
24 A 3D Viewing Gingerbread house

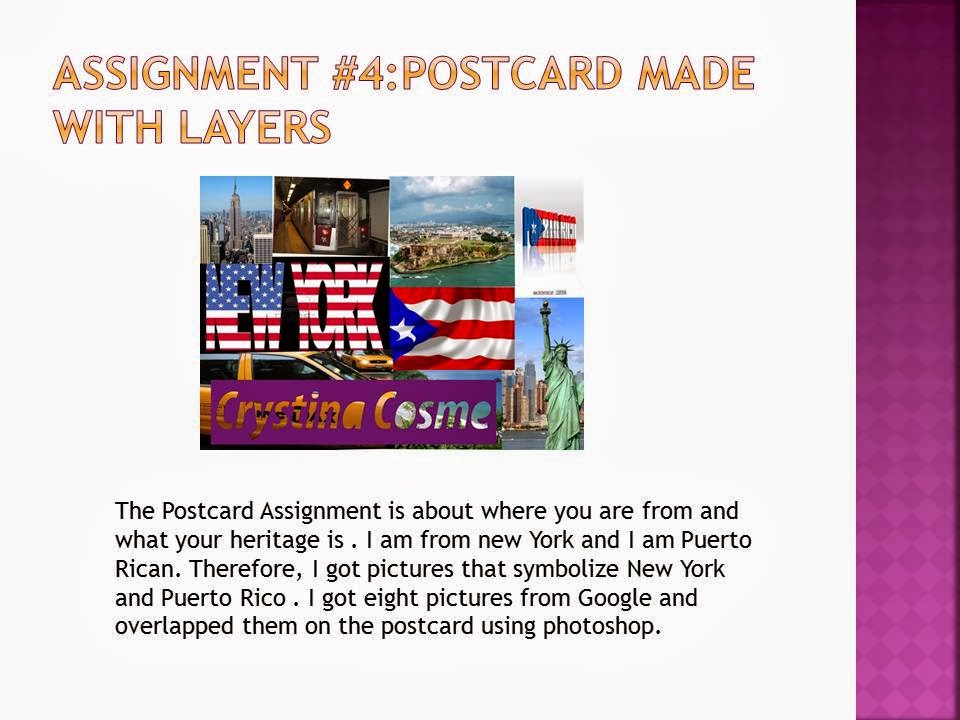
For this assignment we had to Create a ginger bread using a model form  Google. We had to get very detailed with this assignment.we also had to make the house and candies in 3D

For this assignment we just had to pick a background and make the house 3D using the 3D affect in Photoshop
*******************************************************************************
#25 Glowing button
For this assignment, The goal was to create a power button that turned off and on.In order to make this photo look like this we had to change the settings.I changed the Inner glow,the outer glow and the gradient.Then we posted the symbol of the power button in the middle of the circle.Lastly we had to make the the image animated by turning it on and off.Then i saved it as a GIF so it could be visible on websites.GIF stands for Graphic Interchange Format. basically a GIF is an animated picture that moves repeatedly and does not stop.In order to make this animation work we had duplicate the same pictures 14 times and one of those picture needed to have the green glow turned off.
Durind


 For this assigment the objective was to create a show case adveritizing a product.The product I choosed  was the iphone 5s in gold.In order for this project to look like this,there was a series of steps that needed to be done.I  possibly recieved a 100 on the first part of this assigment completing my room on time and asking my classmates for help instead of asking Ms.wang.In part 2,of this assigment one part I had trouble with was the creation of the light.While i was making the first part of the light,the setting was not changing therefore i asked ms.wang and she solved my problem.If i needed any more help I would ask my classmates in my table
************************************************************************
Reflection on Multimedia:
Durnig this semester, multimedia taught me different programs that contribute to media.These programs included, Microsft Publisher,Photo Shop, Adobe Illustrator,Google Sketch, and Blogging.Micrsoft Publisher was one of the first programs we used.This program is mainly for writing document,such as buisness cards or even broshores.Photo Shop was the second program we used in multimedia.Phots Shop can be used to make assigments with graphics.Some assigments we did with photoshop were enhansing our selfie photos or even an celebrites photo.With Adobe Illustrator we created cell phones,pictures in motion.This was one of my favorite programs.In google sketch up we created different shapes.At first, this was one of the programs that i had the most struggles with.However, with more practice each day I got the hang of it.Lastly,Blogger.com helped us showcase our hard work we created with these programs.Blogger.com was also another way of our teacher to see what we learned from making these projects.In all, these programs will definatly help me in the future and my future classs.For example, making the shapes in  Google Sketch Up will help me in geomtry.While making these shapes we had to make these shapes based on a length,width and height.As for the future, alot of jobs require you to know alot about computers.Knowing about these programs will only give me an advantage over the other employes.Ms.Wang,Im honeslty going to miss this class so much.This was such a great exprience,hopefully i get to take your photography class in the neer future.:D

Friday, October 18, 2013

2nd Marking Period

#11: Flyer Redesigned by Crystina Cosme

      For this assignment, I used Photo shop to make the flyer more appealing.For the header I used the plastic text.Therefore, I followed the steps on our previous assignment by changing the blending options.For the background, I changed the gradient overlay to a blue color on the top and a greenish color on the bottom.Then I added the Information about the event by inserting a text. Lastly i inserted a picture that depicts engineering,math,and science.I inserted this picture by copy and pasting the picture to the assignment.Then I used the magic want to get rid of the white background for the images.
************************************************************************************

                      Assignment #12 ADDING TEXTURE via LAYERS by:Crystina Cosme

For this assignment,I used photo shop to change the look of the dress.I used a design from google and inserted it on the dress by copying and pasting.Then i used the clipping mask to put it over the dress.I  changed the opacity of the design to make it lighter and used color dodge.Then i put the original and combined form in one document.
************************************************************************************
Assignment #13 CHANGE ONE THING POSTER by:Crystina Cosme


For this assignment we had to make turn a unhealthy snack to a healthy snack.In my project I used popcorn and replaced it with grapes.I then looked up a picture of both popcorn and grapes and used the magic wand to highlight the unwanted popcorn. Then I used the clipping mask to place the grapes in side the bowl. Next, I came up with a creative title to make the reader interested.Then I put an outer glow around the bowl of popcorn and the bowl of grapes.For the background, I changed the gradient.Lastly, I copied and past the logo of Food Bank and their disclaimer.
***********************************************************************************
#14 Halloween Project on Photoshop by:Crystina Cosme


For this assignment, we had to Carve out a face on a pumpkin.First, I changed the the color of the background to black.Then On Google, I searched a picture of a pumpkin and copy and pasted it to the document.Then i used the the pen to create the eyes, mouth, and a nose.Then I Changed the gradient overlay,and the inner and outer glow to give a glow inside the pumpkin.Lastly, i gave the pumpkin a orange Shadow on the bottom by using the brush and lowering the opacity,
************************************************************************************

                                  #15A Create a Painted effect Look with Displacement maps


        In this assignment,we had to combine a flag with bricks.In my project, I used a Puerto Rican flag and a Brick wall from Google.First I opened both, The flag and the brick wall to one document in photo shop.Then I made a copy if the brick layer and  changed it to hard light.Next, I filtered to the brick wall by going to filter-Blur-Gaussian Blur.Then I placed the Puerto Rican flag over the brick wall  by saving and reopening the displacement map and changing it to hard light
***********************************************************************************
                                          #15B Create a Painted effect look with Displacement Selfie

For this assignment, we had to get a image of a flag and place it over your face.First, I opened the picture of the Puerto Rican flag and my selfie.Then we had to make a copy of a our flag and change it to hard light.Then I changed my selfie to hard light.Next, I went to filter-Gaussian-Blur.Then I changed the opacity of the flag to 80%.Lastly, I erased all the part of the flag that was covering my hair,mouth and nose.
********************************************************************************
                                       For this assignment,we had get a picture of a transportation system and make it look as if it was moving.In this assignment I used a range rover.First, I changed the photo into a smart filter and then I filtered the photo.I filtered the photo by going to filter-blur-motion blur.Lastly, I erased the blur that is on the car only leaving the background with blur. Then i copied and paste both the original and the new range rover.
***************************************************************************


n this tutorial we are going to create a painted effect look by overlaying an image distorted
For this assignment we had to get a picture of a celebrity and change one feature on the celebrity.For this project I used Channing Tatum and changed the color of his eyes.His original eye color is green,so I changed it to a ocean blue.To change the color of his eyes i used the Default button,quick mask,the brush tool and the adjust the master diameter slider.Lastly, I selected his eyes and changed the opacity and the color to blue
*********************************************************************************

Displacement Map.The Displace filter is one of sever

For this assignment we had to get a picture of a old celebrity and make give the photo a soft look.In this project I choose  Jennifer Aniston. First I went to filter and converted the picture to smart filters.Then I Changed the skin tone by going to filter-blur-and then Gaussian Blur.Lastly,  I selected the eyes and lowered the opacity to bring out the eyes.Then I copied and paste the original next to the new version
******************************************************************************
                  Assignment #19 USB Drive 
                           
For this assignment, we had to use Adobe Illustrator and create a USB drive.There was a series of steps in order to make this flash drive.First i created a rectangle changed the gradient to purple .Then I created another two rectangles to form the a  "Pyramid" look on top of the big rectangle.Then I Made another rectangle and changed the RGB and the gradient to grey to form the connector.Next, I created to small rectangles  and changed the gradient to black and the RGB. Then I made a line using the the pencil.Next,I created another rectangle inside the purple rectangle and changed the gradient to grey and the RGB. Lastly i created an elipse tool and and placed  it under the flash drive.
********************************************************************************
Assignment #20 Wireless Phone Test
For this assignment I also used Adobe Illustrator and created a wireless phone.This project was very similar to assignment #20.Basically, we created a lot of rectangles,squares and circles and changed the gradient and the opacity.However in this project we had to change the offset path and it radius. Although this assignment was very long I love the finished product.